The Philippines is the kind of destination that appears in every traveler's dreams: white sand beaches, cinematic turquoise waters, terraced rice paddies, and hospitality that makes you feel at home from day one. But traveling through an archipelago of over 7,000 islands also brings its logistical challenges, and connectivity is one of the most important.
If you arrive in Manila from Spain, Mexico, Argentina, or any other Spanish-speaking country, the last thing you want is to waste time looking for a local SIM at the airport or run out of internet just when you need to find your way around a new city. An eSIM solves that problem before you even board the plane.
In this guide, we'll tell you everything you need to know about internet in the Philippines: what coverage to expect in Manila, Boracay, and El Nido, how many GB to plan for your trip, and how to activate your eSIM so everything works from the moment you land.
1. Internet in the Philippines: What You Need to Know
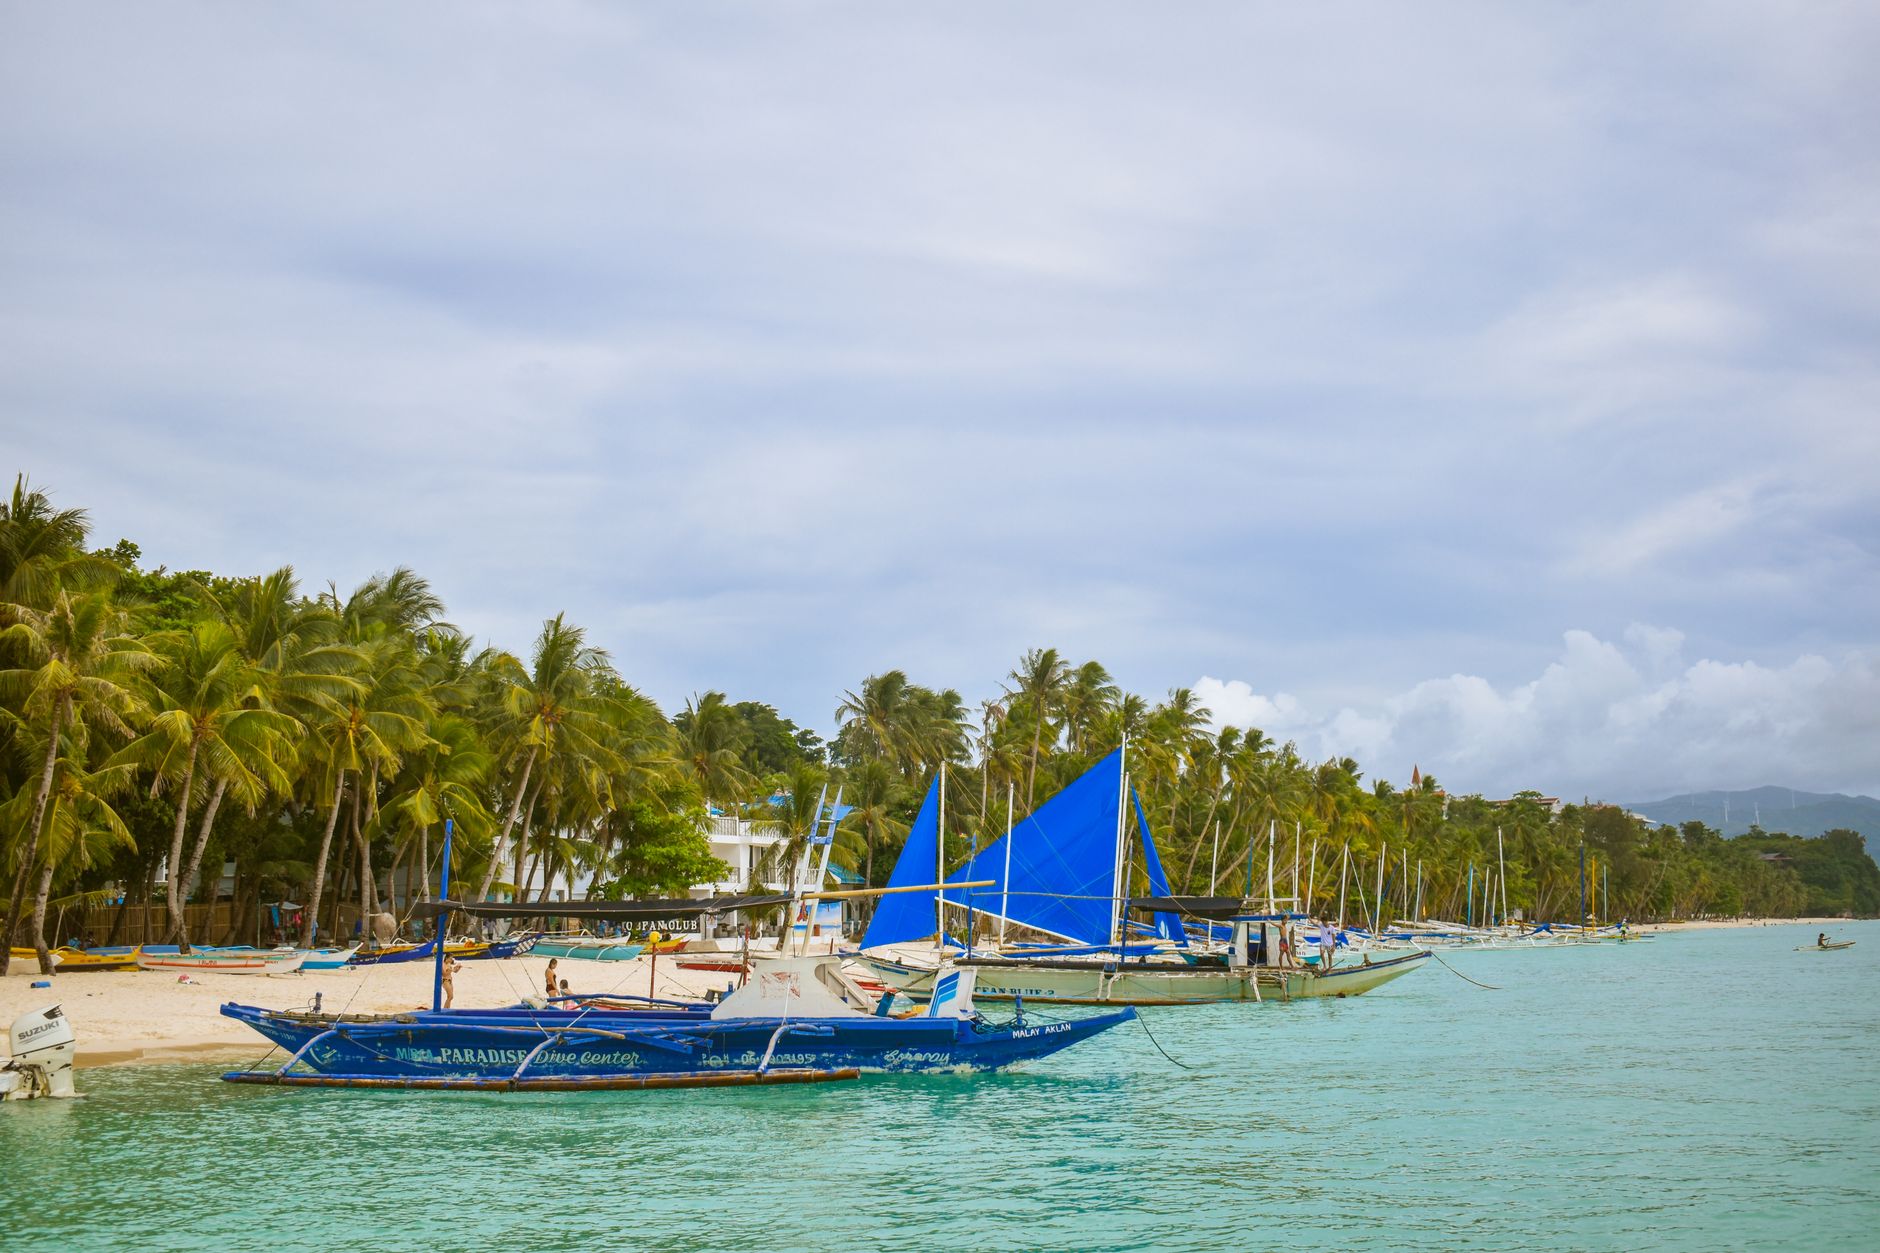
The telecommunications infrastructure in the Philippines has improved considerably in recent years, although it still varies depending on your location. In large cities and popular tourist destinations, 4G LTE coverage is good and sufficient for everyday traveler use. However, in remote areas or small islands, the signal may drop to 3G or even disappear.
The two main operators in the country are Globe Telecom and Smart Communications (part of the PLDT group). Both have national coverage, but with differences depending on the area:
- Globe Telecom usually has better signal in the most frequented tourist areas such as Boracay (Panay Island), Manila, and the metropolitan area of Cebu.
- Smart/PLDT has a more extensive network in some rural areas and is very reliable in Manila and Luzon in general.
- DITO Telecommunity is the newest operator and is expanding its network, although it does not yet have the same coverage as the two major ones.
With a PuraSim eSIM, your device automatically connects to the best available network, eliminating the need to research which operator to buy from and ensuring the best possible experience in each area. This is especially useful when traveling through several islands on the same trip.
The average mobile data speed in the Philippines is around 25-40 Mbps on 4G in urban areas, sufficient for video calls, web browsing, Google Maps use, and social media. In more remote areas, where the signal drops to 3G or H+, you can expect speeds of 5-10 Mbps, which still allow basic functions such as messaging and light browsing.
An important note for travelers: free Wi-Fi in Filipino restaurants and hotels is common, but speed and reliability vary greatly. Don't count on hotel Wi-Fi for work video calls or uploading videos. Having your own mobile data gives you total independence and avoids frustration.
2. Manila: Connected from the First Moment
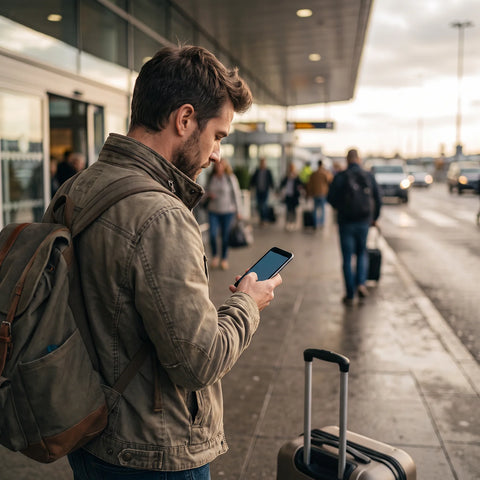
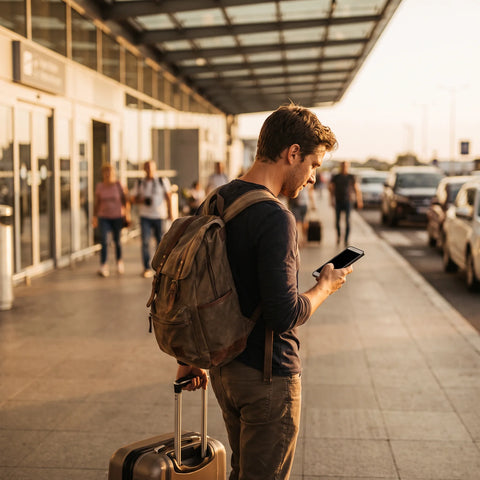
Manila is the gateway to the Philippines for most international travelers. Ninoy Aquino International Airport (NAIA) receives flights from all over the world, and from here tourists are distributed to the various destinations of the archipelago. With an already activated eSIM, you'll have internet as soon as you turn on your phone after landing, without having to look for a local SIM in airport stores.
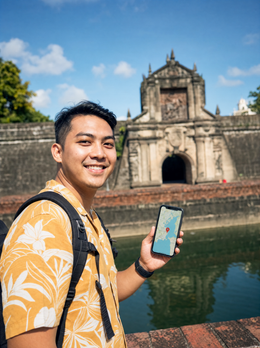
Coverage in Manila and its metropolitan area (Metro Manila) is excellent. Both Globe and Smart offer good quality 4G LTE throughout the city, including the historic center of Intramuros, the Makati district (the financial center), Bonifacio Global City (BGC), and shopping centers like SM Mall of Asia. 5G is already available in some areas of BGC and Makati, although it is not relevant for transient travelers.
During your time in Manila, mobile internet will be essential for:
- Transportation: Grab (the Asian equivalent of Uber) is the best way to get around the city. Without internet, you can't order a Grab and will have to negotiate with taxis or tricycles.
- Navigation: Manila can be confusing at first, with its multiple districts and famous traffic. Google Maps with data connection is your best ally.
- Payments and bookings: Many restaurants and attractions allow online bookings, and apps like GCash are popular for local payments.
- Communication: WhatsApp, Viber, and Facebook Messenger are the most used communication apps in the Philippines, by both locals and tourists.
If you have a day or two in Manila before heading to your next destination, don't miss the National Museum, the historic Intramuros district, and a sunset stroll along Manila Bay. All of this is much more enjoyable with a map in hand and the ability to share photos in real time.
3. Boracay: Signal in Paradise
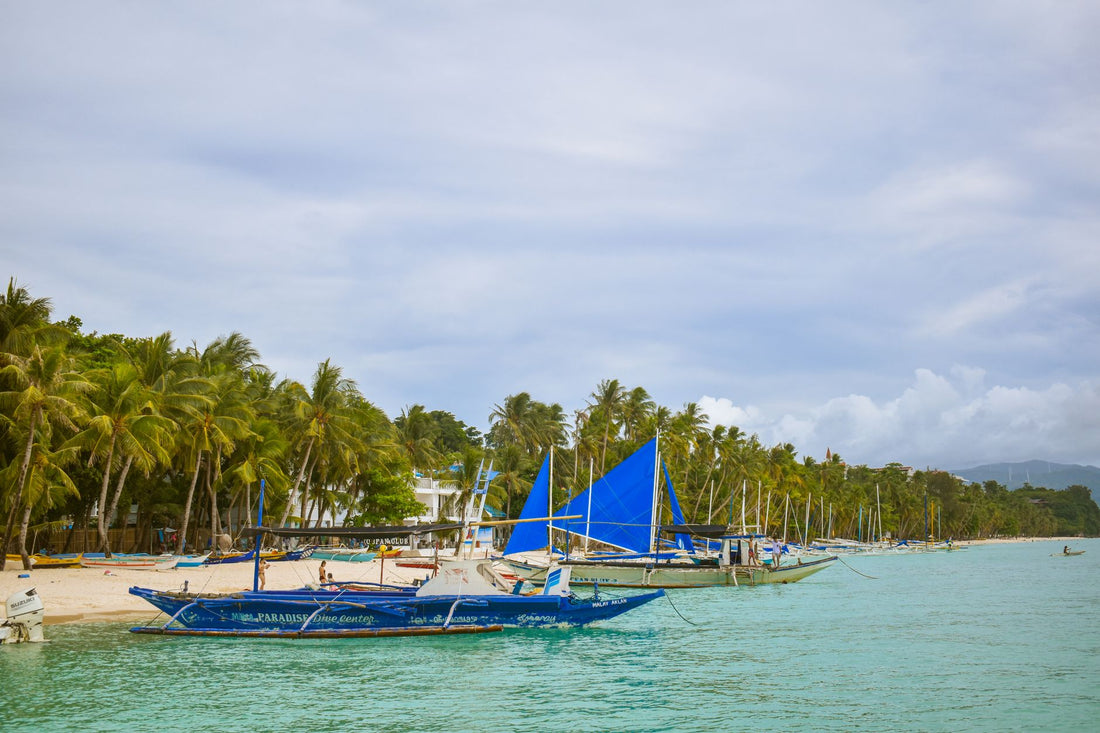
Boracay is perhaps the most famous island in the Philippines and one of the most renowned beaches in the world. White Beach, with its fine sand and turquoise waters, consistently appears on lists of the best beaches on the planet. And the good news for connected travelers is that coverage in Boracay is surprisingly good for an island.
Globe Telecom has a particularly strong presence in Boracay, with 4G LTE coverage throughout the main beach and in tourist areas. This means you can make video calls from your hammock, upload your sunset photos to Instagram without waiting for hotel Wi-Fi, and use Google Maps to find that hidden beach bar someone recommended at the hostel.
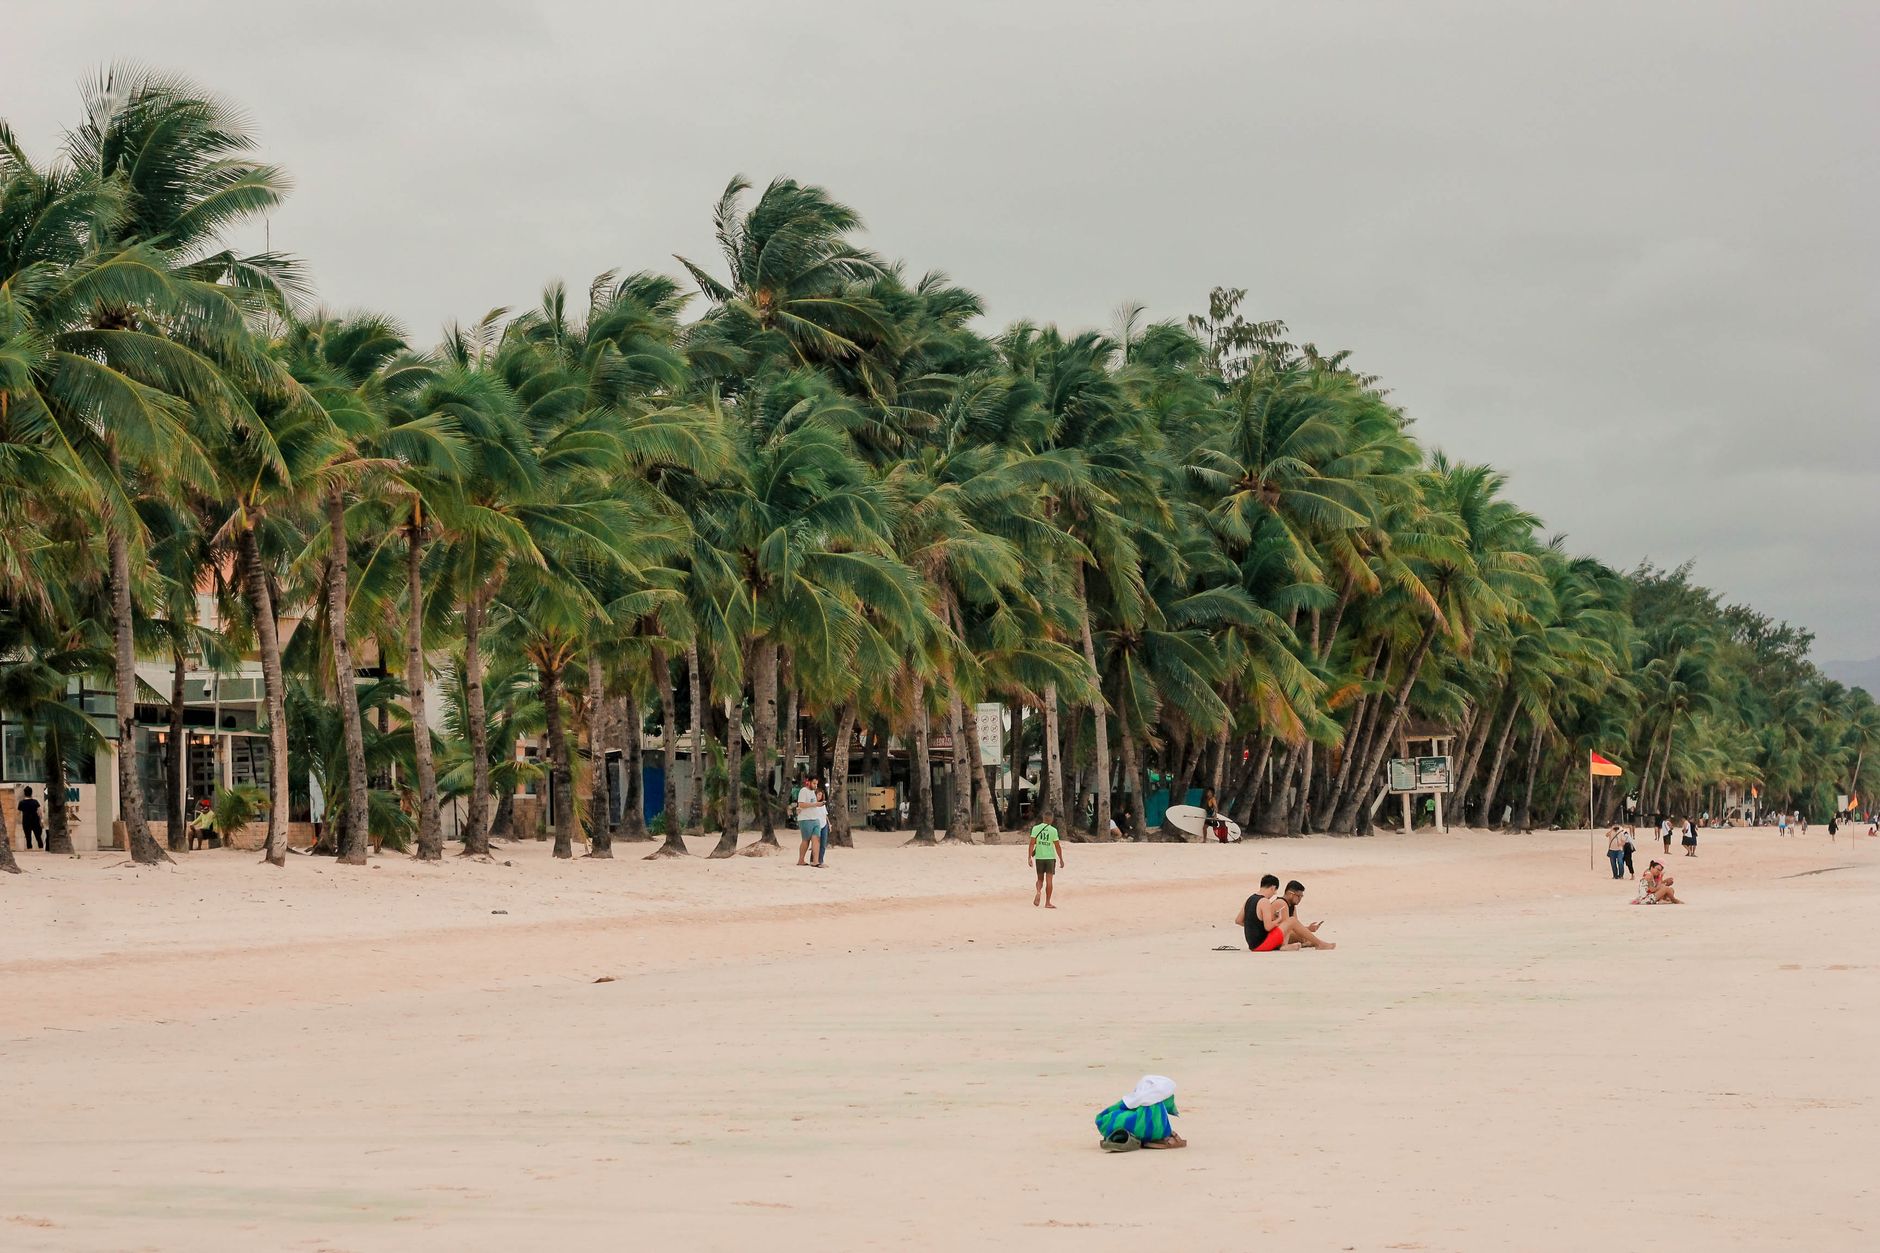
Boracay is divided into several stations, and all have good coverage. The busiest areas like Station 1 and Station 2 have the best signal, while the ends of the island and less frequented beaches (like Puka Beach in the north) may have slightly less intensity, although you'll still have enough connection for essentials.
To get to Boracay from Manila, you'll take a flight to Kalibo or Caticlan and then a short ferry to the island. During the boat trip and on the ferry, coverage may be intermittent, but as soon as you reach the beach, everything works perfectly again.
Activities in Boracay that are more enjoyable with internet:
- Booking kitesurfing or windsurfing lessons (Boracay is one of the best spots in the world for these sports)
- Finding the best restaurants and bars on the island with updated reviews
- Coordinating boat trips to neighboring islands
- Sharing the sunset from the famous Willy's Rock in real time
4. El Nido and Palawan: Coverage on Remote Islands
El Nido, on the island of Palawan, is for many the most spectacular destination in the Philippines. The hidden lagoons, the limestone rock formations emerging from the sea, the pristine beaches, and the coral reefs are breathtakingly beautiful. However, El Nido also represents the greatest connectivity challenge of the three destinations we cover in this guide.
Coverage in El Nido town is reasonable: you'll have 4G or 3G signal in the town and on the main beach area. But as soon as you board a boat to explore the Bacuit archipelago—where Big Lagoon, Small Lagoon, Secret Beach, and other treasures are located—the signal disappears or becomes completely unpredictable.
Important local tip: Download offline maps of Palawan on Google Maps (or use Maps.me) before leaving El Nido town. Once on the archipelago islands, you won't be able to load real-time maps, and although tours usually include a guide, having a downloaded map gives you much more peace of mind to explore on your own.
To get to El Nido, you have two options: a direct flight from Manila to Puerto Princesa or El Nido, or a flight to Puerto Princesa and then a tourist van (about 5-6 hours drive). On the overland journey through Palawan, you'll find stretches with and without coverage, so take advantage of moments with signal to update your GPS and download whatever you need.
If you plan to explore other Palawan destinations like Coron or Puerto Princesa (with its famous underground river), keep in mind that in Coron, coverage is similar to El Nido: good in the town, irregular on nearby islands.
5. How Many GB Do You Need? A Practical Guide
The question travelers ask us most often: how much data do I need for the Philippines? The short answer is 8-10 GB for 10 days with moderate use. But let's go into detail so you can adjust it to your travel style.
Estimated daily consumption per activity:
- Google Maps and navigation: 50-100 MB/day (less if you download offline maps)
- WhatsApp and messaging: 20-50 MB/day
- Social media (Instagram, TikTok, uploading photos): 200-500 MB/day
- Video calls (30 min on WhatsApp or Zoom): 150-300 MB
- Web searches, email, bookings: 50-100 MB/day
- Music streaming (Spotify): 150-300 MB/hour
For a typical traveler who uses maps, WhatsApp, and uploads some photos without streaming video, daily consumption is around 500-800 MB. For 10 days, that equates to 5-8 GB. If you add frequent video calls or a lot of social media content, you can easily reach 10-12 GB.
That's why we recommend an 8-10 GB plan as the sweet spot: enough for normal use without running out, and without overpaying for data you won't use.
If you're going to work remotely from the Philippines (many travelers take advantage of the destination for work), or if you're a content creator who uploads videos regularly, consider a higher data plan or even unlimited. With the 4G speeds available in Manila and Boracay, remote work is perfectly viable.
6. How to Activate Your eSIM Before You Fly
One of the great advantages of eSIM is the simplicity of the activation process. There are no physical shipments, no waiting to arrive at your destination, and no need to handle your phone's SIM tray. Everything is done from your device, in minutes.
The basic process is as follows:
- Check compatibility: Make sure your device is eSIM compatible. The vast majority of smartphones launched since 2019 are: iPhone XS or later, Samsung Galaxy S20 or later, Google Pixel 3 or later, and many models from Huawei, Xiaomi, and other manufacturers. Also check that your device is unlocked by the operator.
- Choose your plan: Go to the eSIM plans for the Philippines and select the one that best suits your trip. For 10 days, the 8-10 GB plan is the most recommended.
- Receive the QR by email: After purchase, you will receive a QR code in your email. This QR contains all your eSIM information.
- Scan the QR on your device: Go to Settings > Mobile Data > Add Data Plan (or similar, depending on your operating system), scan the QR, and follow the on-screen instructions.
- Set as roaming data: Once installed, configure the eSIM as the data line abroad. Keep your local SIM as your call line if you need it.
- Activate upon arrival: Some plans activate upon QR installation; others when a signal is detected in the Philippines. In any case, upon arrival in Manila, you will already have an automatic connection.
Pro tip: Install the eSIM while you have Wi-Fi at home, before leaving for the airport. This way, you avoid relying on airport Wi-Fi or last-minute problems. If your phone has dual SIM (physical + eSIM), you can continue to use your local number for calls and use the eSIM only for data, which is the most efficient use.
Frequently Asked Questions
How many GB do I need for 10 days in the Philippines?
For moderate use during 10 days—maps, WhatsApp, social media, and some video calls—we recommend between 8 and 10 GB. If you plan to make long video calls, upload videos, or work remotely, consider a higher capacity plan. The average daily consumption for a traveler is around 600-900 MB.
Does eSIM work on all islands in the Philippines?
Coverage is excellent in Manila, Boracay, and the urban areas of Cebu and Davao. In El Nido (Palawan), you'll have good signal in town, but in the islands of the Bacuit archipelago, coverage is very patchy. Always download offline maps of Palawan before heading out to explore the remote lagoons and beaches.
Is my phone compatible with eSIM?
Most modern smartphones are compatible: iPhone XS (2018) or later, Samsung Galaxy S20 or later, Google Pixel 3 or later, and many recent models from other manufacturers. The most important thing is that the phone is unlocked by the operator. You can check this in Settings > Mobile Data: if you see the option "Add eSIM plan" or similar, your phone is compatible.
Can I use the eSIM from the moment I land at Manila airport?
Yes. If you activate the eSIM before leaving your country, as soon as the plane lands in Manila and you turn off airplane mode, your phone will search for a signal and connect automatically. You'll have internet from the first second, without needing to look for Wi-Fi or buy a SIM at the airport.
Is it better to buy a local SIM in the Philippines or use an eSIM?
It depends on your priorities. Local SIMs from Globe or Smart are affordable (around 300-500 PHP, about 5-8 euros) and can be bought at the airport or in convenience stores. However, this means losing your local number, handling a physical SIM, and wasting time in queues. PuraSim's eSIM is more expensive in absolute terms, but it activates before you leave, requires no paperwork upon arrival, and allows you to keep your local SIM active. For most travelers, the convenience of an eSIM is worth the price difference.
Activate your eSIM before you leave and arrive connected from the first moment in Manila, Boracay, or El Nido.
View eSIM plans →