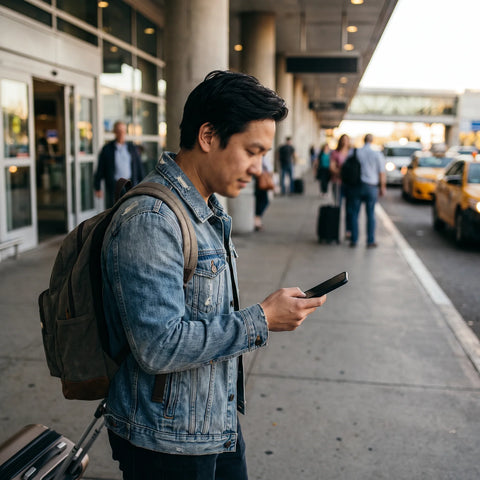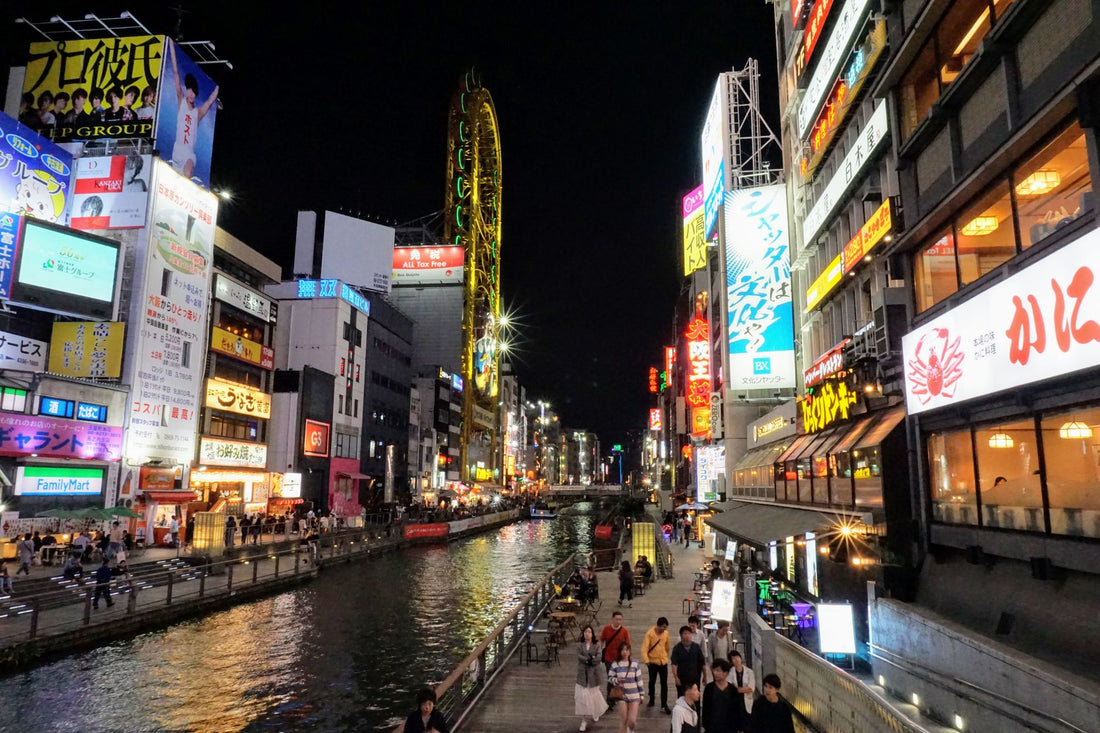
In short: to have data in Osaka, you need an eSIM for Osaka, which is actually an eSIM for Japan: there's no "city" coverage, only country-wide. You install it before flying, activate the data plan upon landing in Kansai, and it works just as well in Dotonbori, Universal Studios, or on a trip to Kyoto, without roaming or physical cards.
Why an "eSIM for Osaka" is actually an eSIM for Japan
First, it's important to clarify something that often causes confusion: there's no eSIM that covers only Osaka. Mobile networks are contracted by country, so when you look for an eSIM for Osaka, what you need is a data profile for Japan that works exactly the same in Namba as in Shibuya. The difference from buying "something generic for Japan" is in the focus, not the coverage: this guide is designed for those who land in Kansai and travel around Osaka, with or without trips to Kyoto or Nara, so you'll see specific consumption data and common errors for this area, not a generic list for the entire country.
An eSIM works like a physical SIM but without a card: you install it by scanning a QR code and activating a profile. It relies on local Japanese operators, so the speed and street coverage are the same as what a resident would have with their phone. The difference from a physical SIM is that you don't have to look for a counter at the airport or take out your phone's SIM tray: you arrive with the profile already installed and simply activate the data.

Kansai (KIX): connecting as soon as you land
Unlike Kyoto or Nara, Osaka does have its own international airport: Kansai (KIX), built on an artificial island in the bay and connected to the mainland by a several-kilometer-long bridge. It has two terminals: Terminal 1 handles most flights from network airlines, and Terminal 2 primarily operates low-cost carriers, with a free shuttle bus connecting them. If you're flying with Peach or Jetstar, this nuance matters so you don't waste time looking for the correct exit.
From the terminal to central Osaka, you have the Nankai Rapi:t express train, the JR Haruka (which also connects to Kyoto without transfers), or the limousine bus, with journeys ranging from 40 to 60 minutes depending on the option. Kansai is one of the busiest airports in the region, so its free Wi-Fi gets saturated during peak hours, just when you need it most to buy train tickets or confirm your hotel address.
With an eSIM activated from the moment you land, you avoid this bottleneck: you can check the correct platform, buy tickets on the relevant railway app, or notify your arrival without relying on a network shared by thousands of passengers simultaneously. A detail many people overlook is to activate data right after getting off the plane, even before passing immigration control: the queue at Kansai can be long during peak hours, and having the terminal map already loaded saves unnecessary wandering. If you're concerned about your Spanish operator overcharging you for accidentally leaving roaming on immediately after landing, you can find a real cost and coverage comparison between both options in eSIM vs roaming.
Neighborhood coverage: Dotonbori, Umeda, Shinsekai, and Universal
Osaka has solid 4G and 5G coverage throughout its urban core, and a reliable travel eSIM relies on those same local operators. But it's good to know the peculiarities of each area because not all are used the same way:
- Dotonbori and Namba: Amid neon lights, takoyaki queues, and crowds, you'll be constantly using maps, reviews, and taking photos. The signal here is excellent, but in Namba's underground shopping arcades (Whity Namba and similar), you might notice a slight drop: if you need something urgent, go up to the street.
- Universal Studios Japan: The park relies on its official app for virtual queues (Universal Express) and real-time show schedules. Having stable data there is not a luxury: without a connection, you miss out on booking time slots for the most popular attractions.
- Osaka Castle: The surrounding park is extensive, and coverage holds up well for digital audio guides and calling a taxi back.
- Umeda: This is the area of skyscrapers and large shopping centers (Grand Front, Hankyu). Inside the newer buildings, the signal is good; in the underground passages connecting stations, it's a bit more inconsistent.
- Shinsekai: A retro entertainment and kushikatsu neighborhood, with stable street coverage, though less public Wi-Fi density than Dotonbori.
Osaka's subway has Wi-Fi and mobile signal in most stations, although in some long tunnels between stops, the connection might flicker for a second. Nothing a normal traveler would notice. Osaka is also very pedestrian-friendly in its entertainment areas, so you'll be constantly checking the map between stalls, shops, and arcades: it's precisely the kind of use where you appreciate not having to ration data.

How many GB you need depending on your itinerary
Osaka is usually visited for 2 to 4 days, often combined with Kyoto and Nara on the same Kansai itinerary. Real consumption primarily depends on one thing: how much video you upload or consume. Maps, messaging, translation, and checking train schedules consume little; recording and uploading stories or watching streaming video is what drastically increases consumption.
| Itinerary | Light use (maps, messaging, some photos) | Medium-high use (stories, reels, streaming) |
|---|---|---|
| 2 days only in Osaka | 1-2 GB | 3-4 GB |
| 3-4 days only in Osaka | 3 GB | 5-6 GB |
| Osaka + day trips to Kyoto and Nara | 5-6 GB | 10 GB |
| Osaka as part of a 2-week Japan trip | 10-15 GB | 20 GB or more |
If you're going to Universal Studios with the queue app open all day, uploading photos as you take them, lean towards medium-high usage just for that day. Use the table as a starting point and adjust based on your actual mobile usage while traveling; if your plan runs short halfway through your stay, in how to save data with an eSIM you'll find specific tricks to extend it without running out of map on the last day.
Osaka as a base camp for Kansai
Many people use Osaka as a base and take day trips to Kyoto, Nara, Kobe, or even Himeji, all less than an hour by train from Osaka or Shin-Osaka station. This is where the eSIM demonstrates its advantage over any alternative: you'll be hopping between platforms, schedules, and maps of different cities on the same day, and it makes no sense to manage multiple cards or connections for that.
Since the eSIM is for Japan and not a specific city, the same plan works in Osaka, on a trip to Nara to see the deer in Nara Park, in Kyoto among temples, and on the way back to the hotel at night. A single QR covers the entire region without reconfiguring anything when crossing prefectural borders, something you would notice with a local prepaid card designed for a single area.
That said, there's a case where it's not worth the hassle: if your trip to Kansai lasts less than 24 hours —for example, a long layover on the way to another destination— and you have reliable Wi-Fi at your hotel or the airport for essentials, it might be more convenient to simply wait to activate the plan at the next stage of your trip. You pay for the data you'll use with an eSIM, not for having it installed, so there's no rush to activate it if you won't need a constant connection that day.
How to install it before leaving home
Installation is done with Wi-Fi, at home, without rushing. You buy the plan, receive a QR code by email, scan it from your phone's settings, and the profile is saved. So far, you don't need to be in Japan or have data: it's pure configuration. What you should save for landing is activating data roaming for that eSIM line, so it only starts consuming gigabytes when you're going to use it.
Before traveling, check two things that prevent surprises: that your phone supports eSIM (not all models do, especially older ones or some specific market versions) and that it's not locked by an operator. The how to install an eSIM guide reviews the process step-by-step with screenshots, and it's best to have it done before leaving home, not in the check-in line.
If you've never used an eSIM and are used to traditional physical cards, the comparison with the traditional chip can clarify doubts: international chip vs eSIM explains the real differences, beyond marketing.
Mistakes that leave you without data in Osaka
A couple of common oversights leave people without a connection right upon arrival, when it's most needed. Avoid these mistakes and you'll land connected without any surprises:
- Activating data too early. Install the QR at home calmly, but only turn on data for the eSIM line when you arrive in Kansai; activating it beforehand doesn't add anything and can confuse you with your regular line's settings.
- Confusing eSIM roaming with leaving your Spanish line in roaming. These are different things: the travel eSIM needs its own roaming activated, and it's also a good idea to check that your Spanish tariff isn't also consuming data in roaming without you realizing it. If you have doubts about this point, what is data roaming explains it without technical jargon.
- Buying a minimum plan thinking only of Osaka. If the city is part of a larger route through Kansai or all of Japan, calculate the gigabytes for the entire trip from the beginning; it's possible to top up on the fly, but it's more convenient not to have to do so halfway through an excursion.
- Not checking phone compatibility before buying. Not all models support eSIM, nor do all operators allow it without unlocking; confirm this in your phone's settings before paying, because finding out at the check-in counter is the worst possible moment.
- Assuming the eSIM replaces your Spanish line. For calls and SMS with your usual number, you need to keep that line active (or use messaging apps with data); the travel eSIM is a second data line, not a total replacement unless your phone uses dual SIM and you configure it that way.
Myths and what almost no one tells you
Beyond the basics, there are details only discovered by traveling through Kansai with an eSIM, or by carefully reading the fine print on your mobile:
- "More signal, better coverage" isn't always true indoors. In large shopping centers like those in Umeda, the signal you see on your phone's bar might be good, and yet the app takes time to load due to network saturation during peak hours with a lot of traffic from connected people, not due to lack of coverage. If this happens, wait a few seconds before assuming something is wrong.
- Dual SIM in Osaka has a common pitfall. If you leave both your Spanish line and the data eSIM active, check which line uses data by default in the settings; if you don't change it, your phone might keep drawing from your Spanish line in roaming without you realizing it until you see the bill.
- Japanese payment apps (PayPay, digital Suica) require constant data, not just Wi-Fi. If you're going to pay with your mobile in konbinis or vending machines in Osaka, you need a data connection at that moment, not just having loaded the app with Wi-Fi before leaving the hotel.
- There is no "official tourist eSIM" for the city of Osaka. Some local ads use this term as a hook, but technically they are still Japan data profiles; the commercial name does not change the actual coverage.
- A single plan doesn't mean zero management. Although the profile covers the entire region, it's still your responsibility to monitor consumption if your plan has a fixed gigabyte limit; some plans send email alerts as you approach the cap, others don't, so it's a good idea to check it yourself from your phone's settings occasionally.
Frequently asked questions
Does Osaka have its own airport?
Yes. Osaka has Kansai International Airport (KIX) for international flights, built on an artificial island in the bay, and Itami for domestic flights. From Kansai, you can reach the city center in 40-60 minutes by train. With an activated eSIM, you'll have data as soon as you exit the terminal, without relying on the airport's shared Wi-Fi.
Does the same eSIM work for Osaka and Kyoto?
Yes. Since it operates by country, an eSIM for Japan covers Osaka, Kyoto, Nara, or any other Japanese city. If you use Osaka as a base for excursions around Kansai, the same plan works for all stops without changing cards or configurations.
How many gigabytes do I need for 3 days in Osaka?
3 GB will cover maps, messaging, and translation for three days of normal use. If you go to Universal Studios and upload many photos or videos, estimate 5-6 GB so you don't run out of data on that particular day. If Osaka is part of a longer trip through Japan, a package designed for the entire trip is usually better than one tailored only to the city.
Is there coverage on the Osaka subway?
Generally, yes. Most stations have Wi-Fi and good mobile signal. In some long tunnels between stops, the connection might flicker for an instant, but it recovers quickly upon reaching the next station. For navigating, calculating routes, and checking schedules, you won't notice any coverage problems.
Can I buy the eSIM on the same day as my flight to Kansai?
Yes, delivery is by email immediately after purchase, so you can buy it even hours before flying. However, it's recommended to install the QR calmly at home, with Wi-Fi, and have it ready to activate data only upon landing. Improvising it in the check-in line is not the best plan.
Do I need an eSIM if I'm only transiting through Kansai without leaving the airport?
Probably not. If your stopover in Osaka is short and the airport has enough free Wi-Fi for what you need, activating a data eSIM for that time is an expense you won't recoup. Save it for when you actually go out and need constant navigation and connection.
Does the Osaka eSIM also work if I continue my trip to another country afterward?
No: the Japan profile loses coverage when you cross into another country. If, after Kansai, you continue your route, for example to South Korea, you need to activate the plan for the next destination; in eSIM for South Korea you have the equivalent for that stage. And if your route takes you back through Europe before heading home, check out the Europe eSIM.
Conclusion
Osaka moves at full speed: takoyaki in Dotonbori, queues at Universal, and trains every two minutes to Kyoto or Nara. A Japan eSIM is what keeps you in sync with the city, with data from the moment you set foot in Kansai and a single plan valid for your entire Kansai itinerary. You install it before flying, activate it upon landing, and dedicate your trip to exploring, not searching for Wi-Fi. If you also return to Spain wanting to stay connected without bill surprises, check out the eSIM for Spain options for daily use.