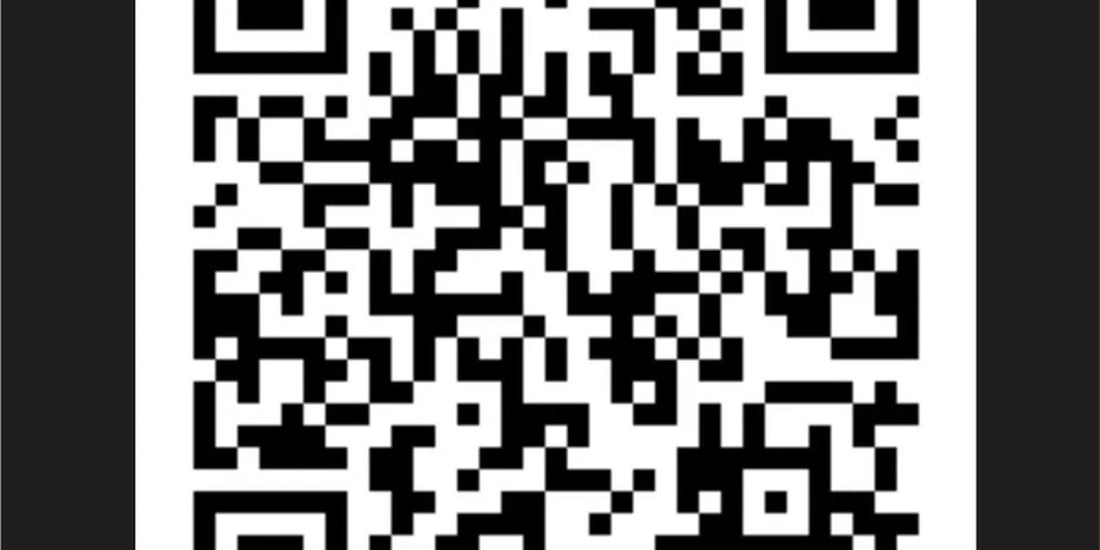
In short: The error when scanning an eSIM QR code is usually due to three causes: opening the QR code on the same phone you want to configure (the system blocks it for security), insufficient brightness on the screen displaying it, or incorrect scanning distance. It can be solved in a few minutes by using a second device to display the QR code or by manually installing the eSIM with the activation code, without the need to scan anything.
Why the QR scanner fails when installing your eSIM
Installing a virtual eSIM via QR code seems like a two-second gesture, but it depends on several conditions that must be met simultaneously: the camera, the light, the distance, and the device displaying the code. When one fails, the scanner "thinks" or doesn't recognize anything, and that's where the error begins. Let's break it down, because it's almost always something quick to fix.
1. You are displaying the QR code on the same phone you are trying to configure
This is, by far, the most common reason. If you open the email with the QR code on the same iPhone or Android you want to activate, the operating system blocks the scan for security reasons. Both iOS and Android detect that the camera is trying to read a code that is on its own screen and prevent it, to avoid installation loops. The solution is simple: open the email on another device (computer, tablet, or someone else's phone) and scan it from there.
2. The brightness of the screen displaying the QR code is too low
The camera needs real contrast to read the code. If the screen displaying the QR code has its brightness set to automatic or minimum, in a dimly lit room there may not be enough detail for the sensor to distinguish the black squares from the white ones. Turn up the brightness to maximum before attempting to scan; it seems trivial, but it solves a good portion of cases.
3. The distance or angle is incorrect
The eSIM scanner uses the main rear camera. If you get too close (less than 15 cm), the focus won't stabilize; if you move too far away (more than 40 cm), the code loses definition. The distance that works best is between 20 and 30 cm, with the phone parallel to the screen displaying the QR code, without tilting it.
4. The QR code arrived as a low-quality image or PDF
If the provider sent you the QR code as a highly compressed JPG image or within a low-resolution PDF, the code modules may appear blurry even if they seem legible at first glance. Try zooming in before scanning or ask the provider to resend the QR code in higher quality.
5. There is a reflection or overexposure on the screen
If you have a window or a lamp behind the screen displaying the QR code, the reflection can saturate the camera and prevent it from reading, just like when photographing glass. Move to another room or change the angle of the screen until the glare disappears.
Requirements for the scan to work the first time
Before retrying, make sure you meet these points. If any of them are missing, the scan will fail no matter how much you adjust the light or distance:
- eSIM-compatible device. Not all phones support it; see the compatibility section below.
- iOS 12.1 or higher / Android 9 or higher. Earlier versions do not have native support for installing eSIM via QR.
- Active internet connection. The device needs to communicate with the operator's SM-DP+ server during the scan, with Wi-Fi or data available.
- Free eSIM slot. On devices with two eSIMs, both slots may already be occupied. Delete one you don't use before installing the new one.
- Unused QR code. Each eSIM code is single-use; if it has already been installed, even partially, it becomes invalid.
- Uncarrier-locked phone. If it is locked to a specific carrier, it may reject eSIMs from other providers.
If, after reviewing this list, the scanner still doesn't recognize anything, don't waste any more time with the QR code: go directly to the manual installation method, which is just as valid and in some cases even faster. You can see the complete process, with screenshots, in our general guide on how to install an eSIM step-by-step.

Install eSIM without a QR code (manual method)
Manual installation is just as valid as QR code installation: instead of scanning a code, you manually enter the SM-DP+ server address and the activation code. This is the method we always recommend when the scanner gives problems, because it eliminates camera, light, and distance variables at once.
On iPhone (iOS)
- Go to Settings → Cellular → Add Cellular Plan.
- On the scan screen, tap "Enter Details Manually" (the blue link at the bottom).
- Enter the SM-DP+ address (also called LPA server) exactly as it appears in your provider's email.
- Enter the activation code, the long alphanumeric string.
- Tap Next and wait for the profile to download; it usually takes between 5 and 30 seconds.
- Confirm the installation and decide if you want to use the eSIM immediately or leave it ready for later.
On Samsung Galaxy and other Android phones
- Go to Settings → Connections → SIM manager.
- Tap "Add mobile plan".
- Select "Enter activation code" or "Don't have a QR code?", depending on your customization layer version.
- Enter the SM-DP+ address and the activation code.
- Confirm and wait for the profile to download.
On Google Pixel, the path is practically identical, changing the route to Settings → Network & internet → SIMs → Add SIM, with the same option to enter the code manually instead of scanning.
Where to find the manual activation code
It's in your eSIM purchase confirmation email, next to the QR code. Look for fields such as "SM-DP+ Address", "LPA Address", "Activation Code", or "Código de activación". If you don't see it, go to the provider's user panel or write to their support.
How to request a new QR code from your provider
If you prefer to continue using the QR method, for example, because you can't locate the manual activation code, and the original QR code is already invalid or damaged, you need to request a new one from the provider.
When the QR code becomes invalid
- It was already scanned and installed on a device, even if you later deleted that eSIM.
- There was an attempted installation that was left incomplete with some operators.
- The QR code's validity period has passed, which some providers limit from the time of purchase.
How to request it
- Log in to the provider's user panel and look for an option like "Resend QR" or "Regenerate code."
- If not available, contact support via chat or email, providing your purchase email, order number, and the reason: QR code not scanning or QR code already used.
- The new QR code will arrive by email. Open it on a computer or tablet, not on the same phone where you will install the eSIM.
Most eSIM providers for travelers, including PuraSIM, process these requests in a short time. If you have been waiting for a while, check your spam folder before writing again.
QR scanner compatibility by phone model
Not all devices behave the same when scanning an eSIM QR code. This table summarizes the most relevant information by manufacturer before you confirm your purchase, whether for an eSIM Spain or an eSIM Europe:
| Manufacturer | Models with eSIM | Scanner path | Detail to consider |
|---|---|---|---|
| Apple | iPhone XS (2018) onwards | Settings → Cellular → Add Cellular Plan | Models sold in the US since iPhone 14 do not have a physical slot; they can store several eSIMs although only one or two are used at a time |
| Samsung | Galaxy S20 and later, depending on market | Settings → Connections → SIM manager | Compatibility depends on the market where the device was sold, not just the model; check "eSIM status" in Settings → About phone |
| Pixel 3 onwards | Settings → Network & internet → SIMs → Add SIM | Broad compatibility in almost all markets where it is officially sold | |
| Motorola | From Razr (2019) on selected models | Varies depending on the customization layer | It is advisable to confirm the exact model before purchasing the eSIM |
| Huawei | P40 and later, with restrictions depending on the market | Varies depending on the customization layer | Some markets do not include eSIM support due to manufacturer-specific restrictions |
| Xiaomi / OnePlus | Reduced selection of premium models | Varies depending on the customization layer | eSIM availability is usually limited to high-end models and specific markets |
If your model does not clearly appear compatible, the most reliable thing to do is to search for "eSIM" in your phone's settings before purchasing, instead of relying solely on the commercial name.
Common mistakes and what almost no one tells you
In addition to technical causes, there are ideas circulating about the eSIM QR code that should be clarified, as they waste time just the day before traveling.
"Taking a screenshot of the QR code and scanning it from the gallery works the same."
Not always. Some eSIM apps do read saved screenshots, but many require the code to be detected live with the camera, not from an image opened in the photo viewer. If you use a screenshot, open it on a second device and point the camera of the phone you are activating, never the other way around.
"The bigger the QR code is displayed, the better it will be read."
It's the opposite of what it seems: a full-screen QR code can prevent the camera from fitting it entirely within the focus frame, especially on large tablets. An intermediate size usually works better in practice.
The trick almost no one uses: save the QR code as a PDF before leaving home.
Many providers allow you to download the QR code in addition to sending it by email. Save it on your phone before traveling, so you don't have to rely on having email coverage right at the destination airport, which is the worst time to discover that the QR code won't load.
"If I don't have Wi-Fi at the airport, I can't install the eSIM."
The final profile download does need internet at some point, but it doesn't have to be right upon arrival. The practical solution: install the eSIM before leaving home, using your usual Wi-Fi, and have it ready to activate upon landing. You don't need to activate it immediately, just have it installed, and you avoid relying on airport coverage at your destination.
Confusing the eSIM scanner with the normal camera reader
It's tempting to open the Camera app and point it at the QR code, just like with a restaurant menu. But that usually opens the email link on the phone itself, triggering the block from point one again. The correct scanner is always within the cellular data settings.
Before installing anything, it is also important to understand the difference between traveling with eSIM and relying on traditional roaming; if you are still undecided between the two options, this comparison will clarify it for you: eSIM versus roaming.

QR vs. manual installation: which to choose
Neither method is "better" in an absolute sense; it depends on where you are in the process. This table helps you decide quickly:
| Method | When to use it | What you need | Approximate time |
|---|---|---|---|
| QR code | First installation, with a second device available to display it | Unused QR code, another phone, tablet or computer, good light | 1-2 minutes |
| Manual installation | The scanner repeatedly fails or you don't have a second device handy | SM-DP+ address and activation code from the provider's email | 2-3 minutes |
| Request new QR code | QR code already used, damaged or expired | Contact provider support, order details | Variable, depending on provider |
If you travel frequently, it is worth familiarizing yourself with the manual method from the first time: it frees you from relying on having a second device nearby, which is not always the case in the boarding area. Also take the opportunity to review some tricks to save data with your eSIM, and if you are concerned about security on public Wi-Fi networks, this guide on eSIM, VPN and privacy when traveling will interest you.
Frequently asked questions
Why can't my phone scan the eSIM QR code?
The most frequent causes are: the camera focusing too close or too far, the QR code being open on the same screen that is trying to scan (the system blocks it), insufficient brightness on the screen displaying the QR code, or the device not being eSIM compatible. Adjust the distance, increase the brightness, and always use a second device to display the QR code.
Can I install an eSIM without scanning the QR code?
Yes. Most operators offer a manual activation code, consisting of the SM-DP+ address and the activation code, which you can enter manually in your device's settings. On iPhone, go to Settings → Cellular → Add Cellular Plan → Enter Details Manually. On Samsung, go to Settings → Connections → SIM manager → Add mobile plan → Enter activation code.
How many times can I scan the same eSIM QR code?
Usually only once. An eSIM QR code is single-use for security reasons. Once the profile has been scanned and installed, the QR code becomes invalid, even if you later delete that eSIM from your phone. If you need to reinstall it, you will have to request a new QR code from your provider.
Can the regular Camera app scanner be used to install the eSIM?
Not directly. You must use the scanner integrated into your device's eSIM settings: Settings → Cellular → Add Cellular Plan on iPhone, or Settings → Connections → SIM Manager on Samsung. If you point the regular Camera app at the QR code, it will likely try to open it on the same phone, and that is precisely what causes the block.
How long does it take for the provider to send a new QR code?
It depends on the provider, but most eSIM providers for travelers, including PuraSIM, send the new QR code by email within a short period, usually within minutes. Some also have real-time chat support that can generate the code instantly.
Can I install the eSIM before I leave and activate it when I arrive?
Yes, and it's recommended. You can install the eSIM profile using your home Wi-Fi, have it ready, and activate the data line only when you land at your destination. This way, you avoid relying on good coverage or Wi-Fi at the airport just when you need to install it.
What if the error persists after trying all this?
Go directly to the manual installation with the activation code: it is just as valid, does not depend on the camera, and usually solves the problem in a couple of minutes. If you also don't have that code handy, contact your provider's support with your order number.